Decide early
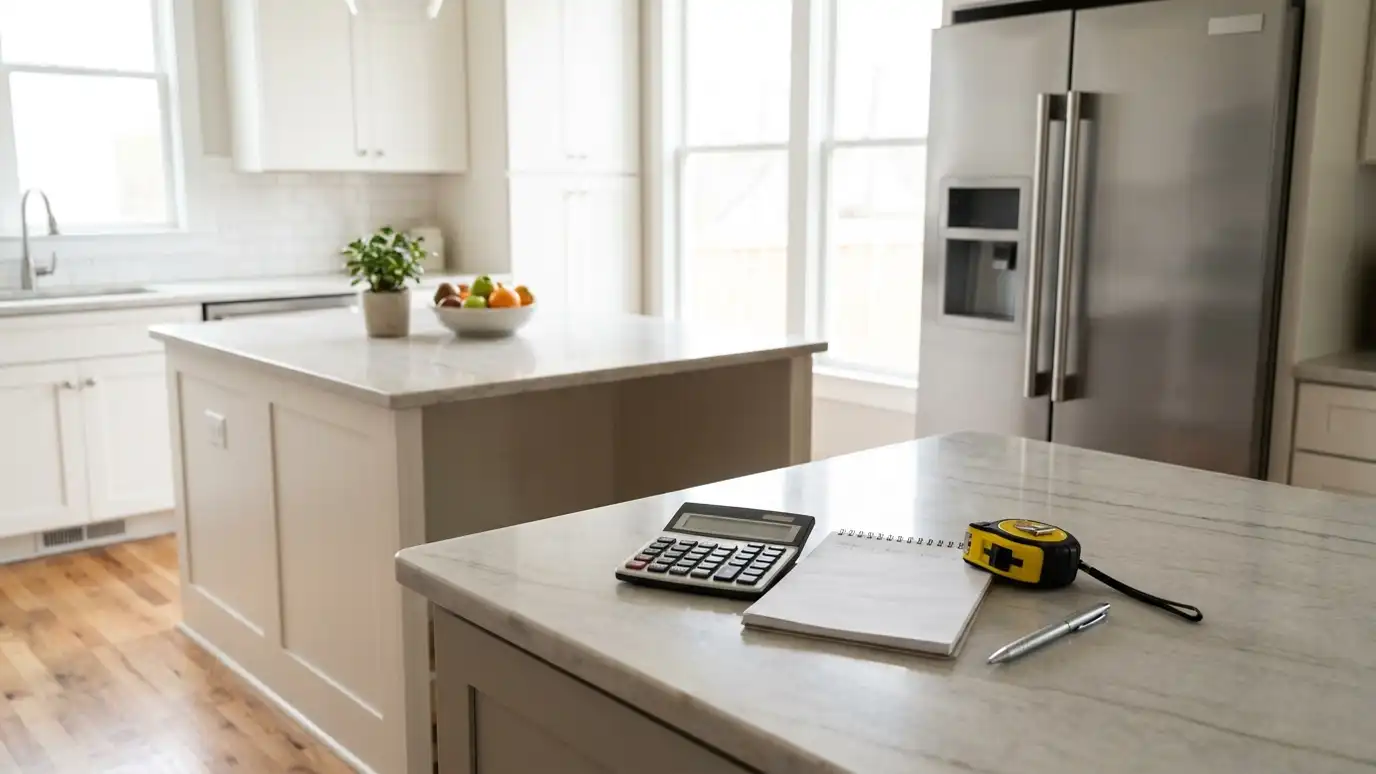
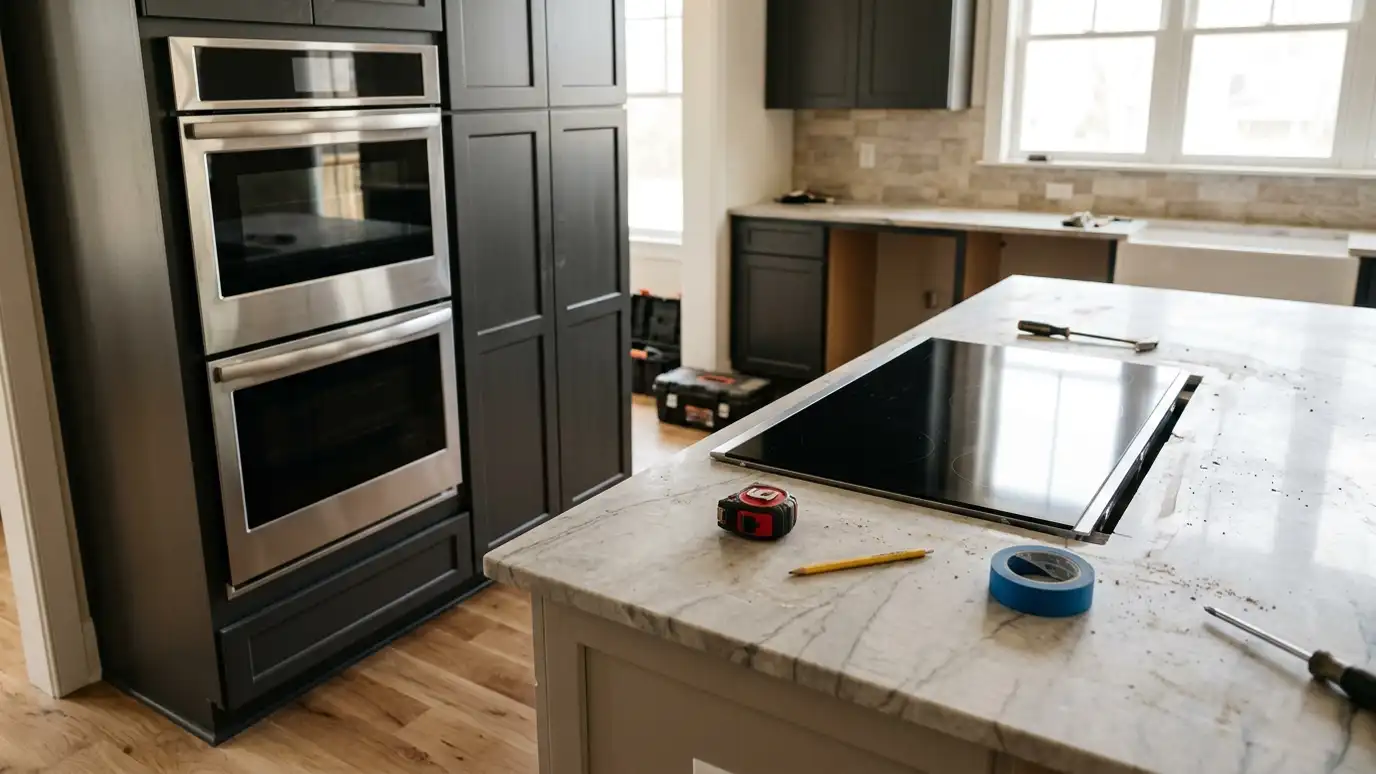
Appliances drive cabinet sizes, electrical, gas, water and venting, so choose them before cabinets are built. Changing your mind late can mean new cutouts and new lines.
Pick the cooking type, the refrigerator style and the dishwasher before final plans.
Ask your designer for each appliance model number.
Even if you love a particular look, check the practical details early: cutout sizes, clearances, door swing, venting and utilities. A small compromise on a model can save a lot of rework on site.
Collect the spec sheets
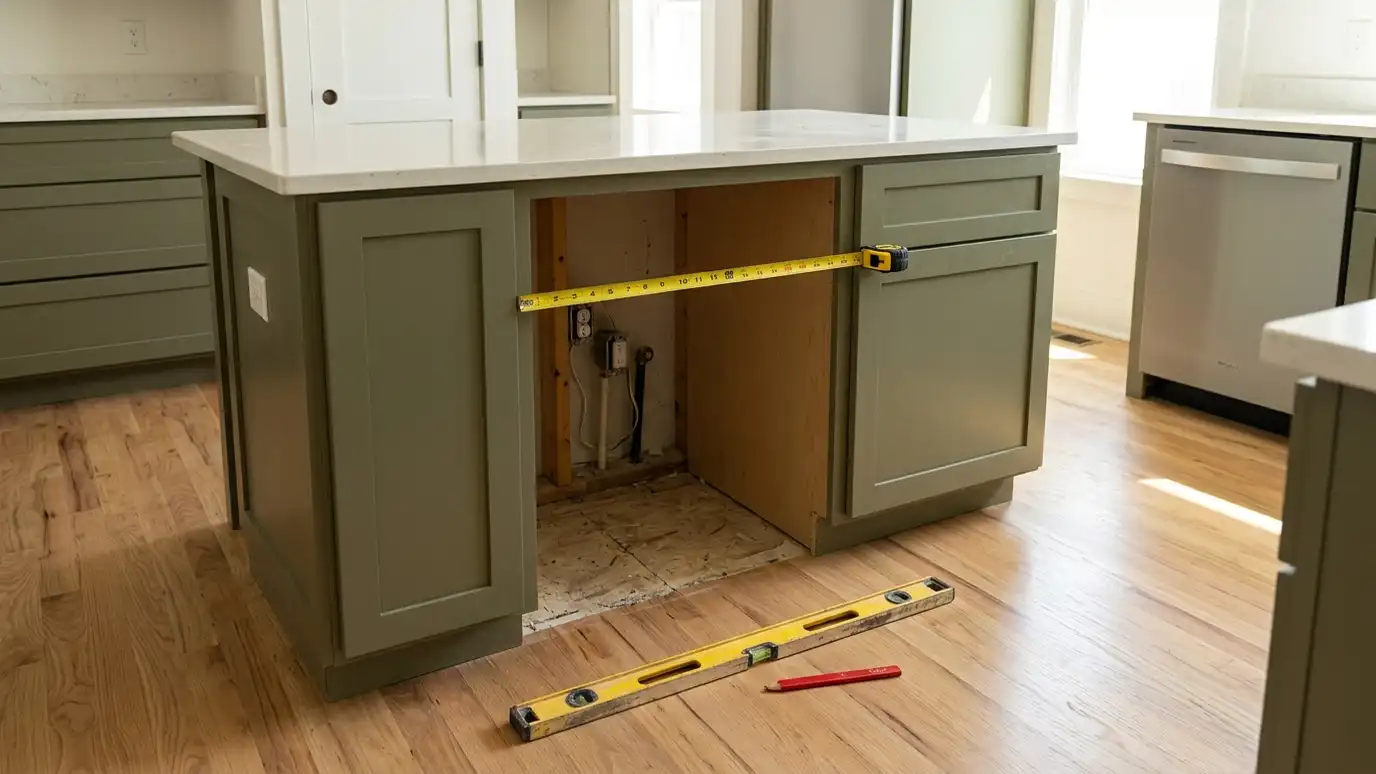
Every appliance has an installation sheet with the opening sizes, clearances, electrical and plumbing needs. Share them with your builder, cabinet maker and countertop fabricator.
Check ventilation requirements for ranges and hoods.
Check the door swing of refrigerators and ovens.
Share every spec sheet with every trade, in a single folder or email. Plumbers, electricians, cabinet makers and countertop fabricators all depend on the same numbers.
Plan the hookups
Gas, 240 volt power, water lines, drains and vents must be in the right place. A dishwasher needs a high loop, a range needs a gas stub or an outlet and a refrigerator needs a water line and an outlet.
Place shutoffs where you can reach them.
Plan a dedicated circuit where the sheet requires one.
Remember the less glamorous lines: the dishwasher air gap or high loop, the dryer vent path, the water line to the refrigerator and the gas stub for the range. Mark them on the plan so they do not get missed.
Schedule delivery and storage
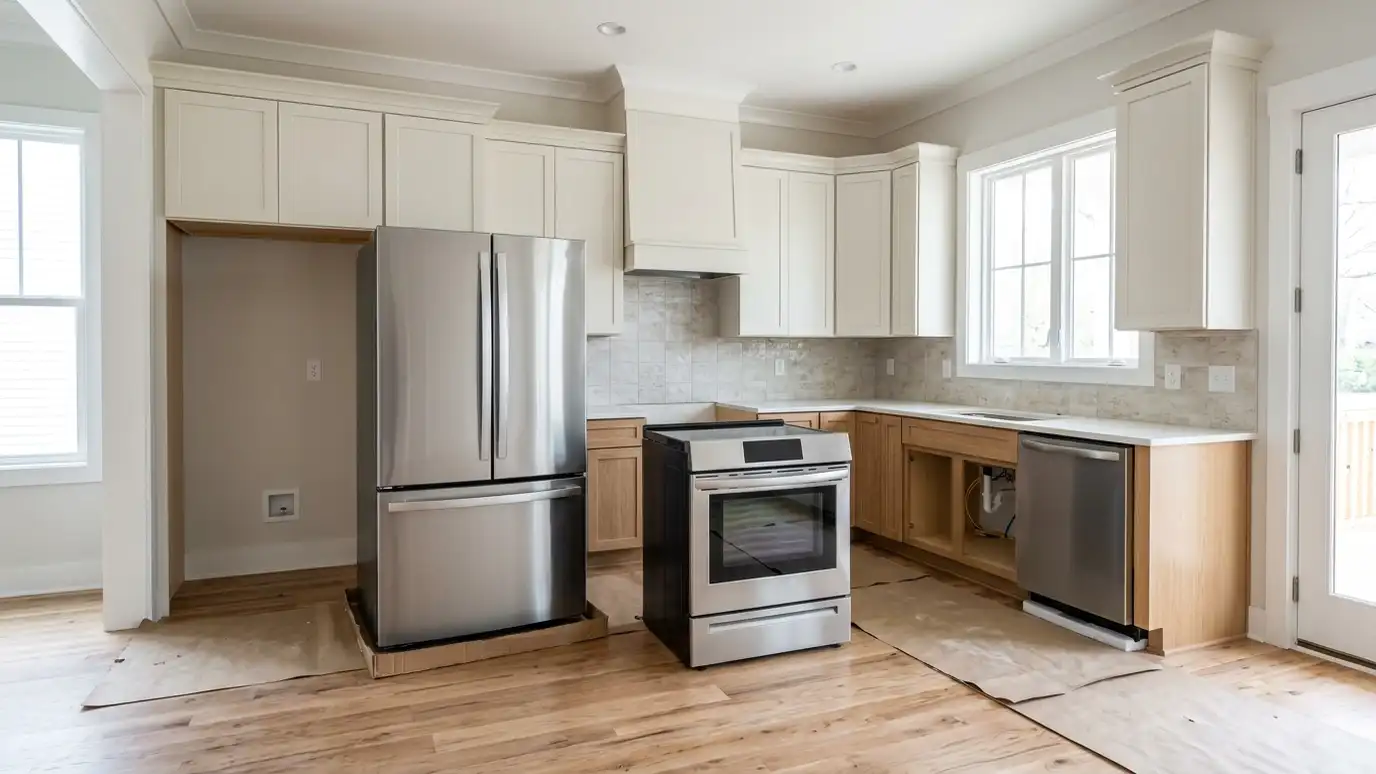
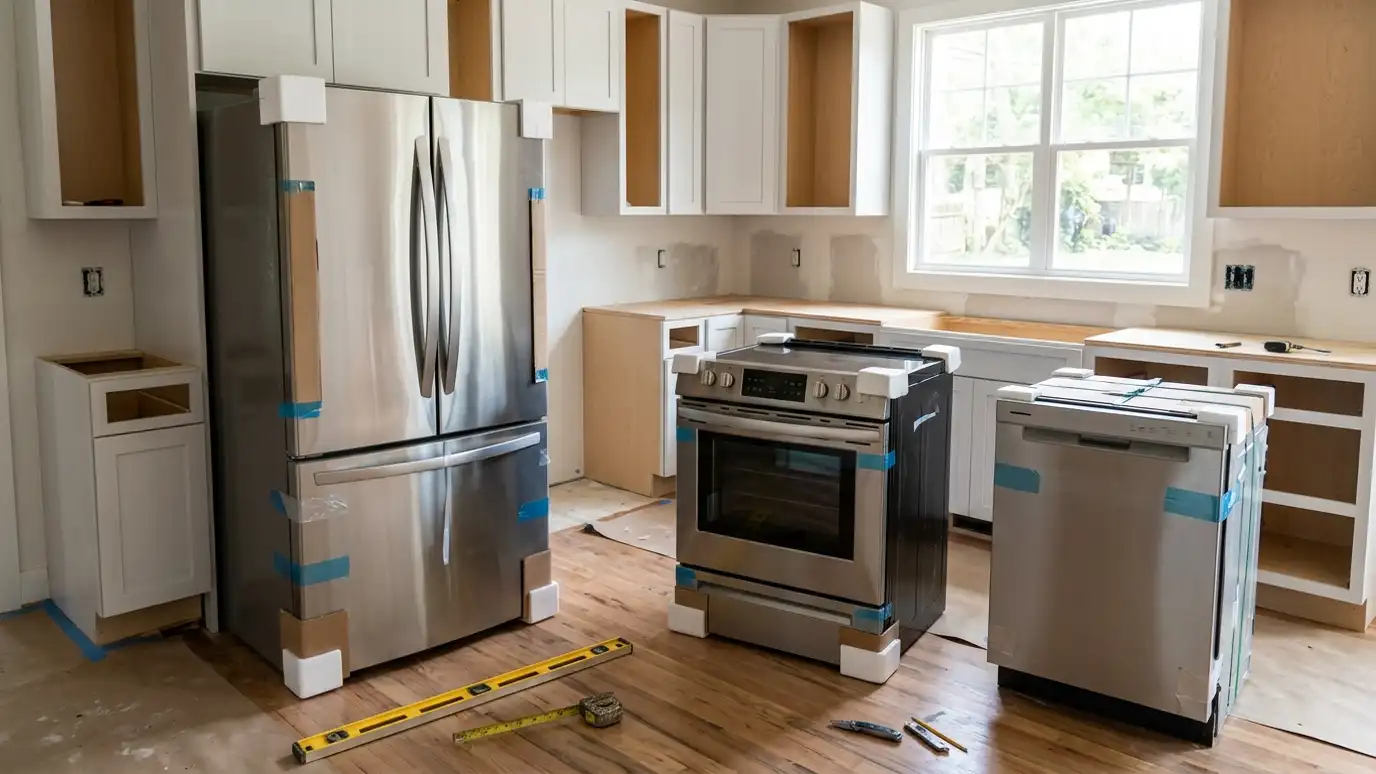
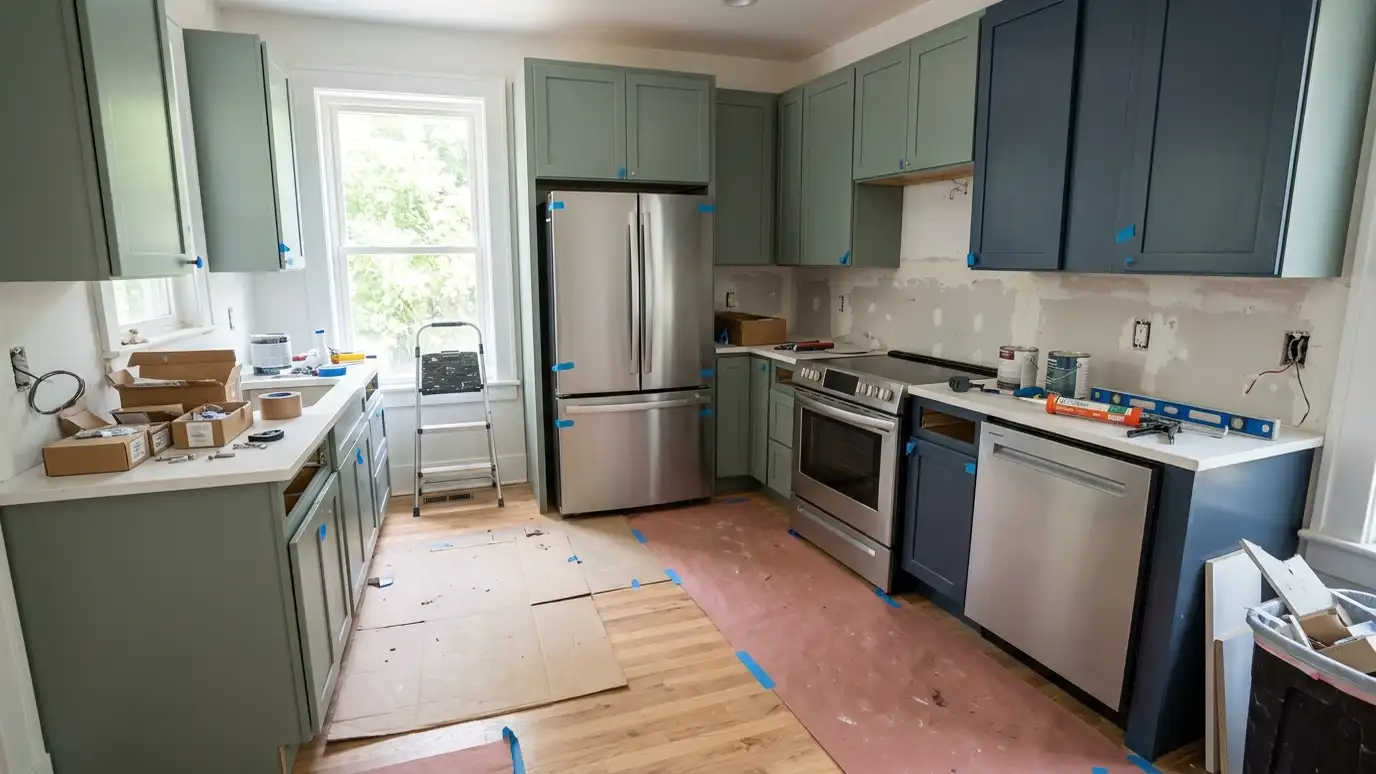
Appliances should arrive after painting and flooring but before the final trim. Have a clean, dry place to store them, and keep packaging until the install is done.
Inspect for damage at delivery.
Do not install until the cabinets and counters are done.
If delivery will be weeks before installation, ask the store to hold the appliances or plan a clean, dry, secure place to keep them. Damage in storage is a common and avoidable problem.
Line up the installer
Book the installation as soon as you know the delivery date. A professional connects, levels, tests and removes packaging, and they can find issues with cutouts or utilities while there is time to fix them.
Ask your installer to review the plans in advance.
Coordinate with the plumber and electrician.
Invite your installer to the site visit if you can. A short walk-through often catches clearance and utility issues that are invisible on paper.
Punch list and testing
After installation, run every appliance, check for leaks, test the door swings and look for scratches. Keep a punch list and note any parts that need replacement.
Photograph the finished hookups.
Register appliances and keep the manuals.
On your punch list, include small details such as door alignment, handle tightness, leveling and the sound of the first cycle. Fixing them early keeps the project feeling finished.
Plan for the future
Leave access to shutoffs and clearances for service. Keep model and serial numbers in one place. Consider a maintenance plan for the new suite.
Think about resale and a rental possibility.
A well-planned install makes repairs easier later.
After the dust settles, schedule a tune-up for the first year. New suites sometimes need small adjustments, and a short visit keeps them performing as designed.
Choose appliances before cabinets, share the spec sheets with every trade and book installation as soon as delivery is set.